The Honeywell 9000 system is a cutting-edge home automation solution designed for energy efficiency and seamless integration with modern HVAC systems, ensuring optimal comfort and control.
1.1 Overview of the Honeywell 9000 Series
The Honeywell 9000 Series offers advanced smart thermostats designed for optimal home comfort and energy efficiency. Featuring WiFi connectivity, smart sensors, and intuitive controls, these systems integrate seamlessly with HVAC setups. With programmable schedules, geofencing, and energy-saving modes, the Honeywell 9000 Series enhances user convenience while reducing energy consumption, making it a versatile solution for modern smart homes.
1.2 Key Features and Benefits
The Honeywell 9000 Series boasts advanced features like smart home integration, energy-saving modes, and voice control compatibility. It offers intuitive programming, remote access via the Honeywell Home app, and geofencing technology. These features provide enhanced comfort, energy efficiency, and seamless control, making it an ideal choice for modern homeowners seeking convenience and cost savings through smart thermostat solutions.

Pre-Installation Checklist
Verify system compatibility with your HVAC setup, ensure power requirements are met, and gather all necessary tools and materials before starting the installation process.
2.1 System Requirements and Compatibility
The Honeywell 9000 system is compatible with most modern HVAC systems, including gas furnaces, heat pumps, and dual-fuel setups. It supports 4-wire, 5-wire, or 6-wire configurations and requires a 24V AC or 12V DC power supply. Ensure your system meets these electrical and mechanical specifications for seamless operation. Compatibility with smart home systems like Amazon Alexa is also available for enhanced functionality.
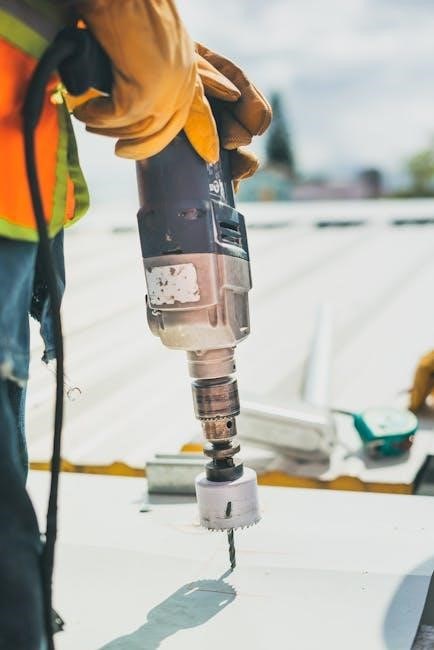
2.2 Tools and Materials Needed
To install the Honeywell 9000 system, you will need a screwdriver, wire strippers, a drill with bits, wall anchors, and screws. Additionally, ensure you have a voltage tester and a level for proper mounting. The system comes with a user manual, but having a ladder or step stool may also be necessary for safe installation. Gathering these tools beforehand ensures a smooth process.
Step-by-Step Installation Guide
This section provides a detailed, step-by-step guide for installing the Honeywell 9000 system, offering user-friendly instructions to ensure proper setup and configuration for optimal performance.
3.1 Preparing the Installation Site
Ensure the installation site is clean, dry, and free from obstructions. Verify compatibility with existing HVAC systems and gather all necessary tools and materials. Shut off power to the system before starting work. Check for any electrical or structural issues that may impact installation. Organize components and materials for easy access, ensuring a smooth and efficient setup process.
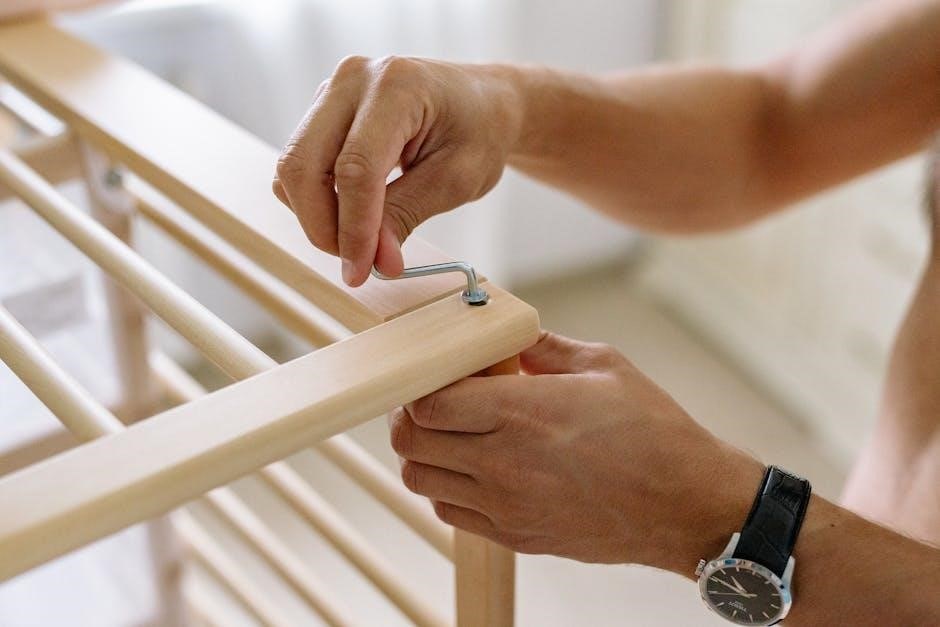
3.2 Mounting the Honeywell 9000 Thermostat
3.3 Connecting Wires and Sensors
Connect the wires to the corresponding terminals on the Honeywell 9000 thermostat, ensuring proper pairing according to the wiring diagram. Securely attach sensors, such as temperature or humidity sensors, to their designated ports. Double-check all connections for tightness and accuracy. Power on the system and test functionality to confirm correct wiring and sensor integration.

Wiring and Connectivity
Proper wiring is critical for the Honeywell 9000 system’s functionality. Refer to the wiring diagram to ensure correct connections, and verify compatibility with your HVAC setup.
4.1 Understanding the Wiring Diagram
The wiring diagram provides a detailed visual guide for connecting the Honeywell 9000 system. It outlines terminal designations, wire colors, and required connections. Ensure all components match the diagram to avoid installation errors. Color-coding helps identify live, neutral, and earth wires. Verify compatibility with your HVAC system before proceeding to ensure proper functionality and safety.
4.2 Integrating with Existing HVAC Systems
The Honeywell 9000 system seamlessly integrates with most HVAC setups, including forced-air, radiant, and heat pump systems. Compatibility is ensured through its universal design and smart sensors. Adaptive learning features optimize performance with your existing equipment, while energy-saving modes enhance overall efficiency and comfort. This integration allows for smooth operation and smart home compatibility, ensuring a modern and efficient heating and cooling experience.
Programming and Configuration
The Honeywell 9000 system offers intuitive programming options, allowing users to set custom schedules and preferences for optimal comfort and energy efficiency.
5.1 Setting Up the Thermostat
Power up the Honeywell 9000 system and navigate through the menu to set basic configurations, such as date, time, and temperature units. Use the touchscreen interface to select preferences and ensure proper connectivity to your HVAC system. Refer to the manual for specific button functions and initialization steps to complete the setup process successfully.
5.2 Configuring Schedules and Preferences
Set up a daily schedule by selecting desired temperatures for different time periods. Choose energy-saving preferences like smart recovery, which optimizes heating/cooling cycles. Adjust humidity levels, fan settings, and geofencing if supported. Ensure preferences align with your lifestyle for maximum comfort and efficiency. Save settings to apply the configured schedule and preferences to your Honeywell 9000 system.

Troubleshooting Common Issues
Identify issues like connectivity problems or sensor malfunctions using the Honeywell Home app. Reset the system or check wiring connections to resolve common installation-related errors quickly.
6.1 Identifying and Diagnosing Problems
Use the Honeywell Home app to monitor system performance and identify issues. Check for error codes, connectivity problems, or sensor malfunctions. Verify wiring connections and ensure proper power supply. Test thermostat functionality and HVAC responsiveness. Use the app’s diagnostic tools to troubleshoot common issues like temperature inaccuracies or communication failures. Early detection helps resolve problems efficiently, ensuring optimal system operation.
6.2 Solutions for Common Installation Issues
Address wiring issues by checking connections against the diagram. Ensure sensors are properly aligned and debris-free. Reset the system if it fails to power up. Verify compatibility with your HVAC system and consult the troubleshooting guide for error codes. Contact Honeywell support if problems persist after basic checks.
Safety Precautions
Ensure power is off before starting installation. Handle electrical components with care to avoid damage. Follow all safety guidelines to prevent injury or system malfunction.
7.1 Essential Safety Tips During Installation
Always turn off the power supply before starting installation. Use insulated tools to prevent electrical shocks. Follow the manufacturer’s guidelines to avoid system damage. Ensure proper grounding and wear protective gear. Double-check connections to prevent short circuits. If unsure, consult a licensed professional to ensure safe and correct installation.
7.2 Handling Electrical Components Safely
Disconnect power before handling electrical components. Use insulated tools to prevent shocks. Avoid touching live circuits or wires. Ensure all connections are secure and properly grounded. Refer to the wiring diagram for correct installations. Never overload circuits, and keep components away from water. Follow manufacturer guidelines for safe handling and installation of electrical parts to prevent damage or hazards.

Maintenance and Upkeep
Regularly clean the thermostat and ensure proper airflow. Check for software updates and perform routine system checks to maintain optimal performance and efficiency.
8.1 Routine Maintenance Tasks
Perform regular cleaning of the thermostat and sensors to ensure accurate readings. Check for software updates and install them promptly. Inspect wiring connections for integrity and tighten if necessary. Ensure proper airflow around the unit by clearing debris. Replace batteries annually or as indicated. Routine maintenance ensures optimal performance, energy efficiency, and extends the system’s lifespan.
8.2 Ensuring Optimal Performance
Regular software updates and proper sensor calibration ensure precise temperature control. Verify wiring connections for stability and avoid obstructions around sensors. Utilize energy-saving modes and smart home integrations for enhanced efficiency. Schedule periodic checks of system settings to align with usage patterns. Consistent performance monitoring ensures reliable operation, energy savings, and long-term system reliability. Refer to Honeywell’s support resources for detailed optimization guides.
Advanced Features
The Honeywell 9000 system offers smart home integration, energy-saving modes, and voice control compatibility, ensuring advanced functionality and seamless operation for enhanced user experience.
9.1 Exploring Smart Home Integration
The Honeywell 9000 system seamlessly integrates with popular smart home platforms, allowing voice control and remote access via the Resideo App. Compatible with Amazon Alexa and Google Home, it enables voice commands, geofencing, and energy monitoring, enhancing your home’s automation capabilities for a smarter, more connected living experience.
9.2 Utilizing Energy-Saving Features
The Honeywell 9000 system offers advanced energy-saving features, including smart sensors and geofencing, to optimize heating and cooling usage. Its programmable schedules and energy reports help users identify savings opportunities. The system also supports demand response programs, reducing energy consumption during peak times while maintaining comfort, making it an eco-friendly and cost-effective solution for modern homes.
Final checks ensure the Honeywell 9000 system operates efficiently, providing enhanced comfort and energy savings. Proper installation and configuration guarantee optimal performance and long-term reliability.
10.1 Final Checks and System Testing
After installation, perform final checks to ensure all components function correctly. Verify wire connections, test thermostat features, and confirm system integration with HVAC. Ensure energy-saving settings are activated and smart home compatibility is established. Conduct a full system test to guarantee optimal performance and efficiency. Review user manual for troubleshooting tips and contact support if issues arise. Proper testing ensures long-term reliability and user satisfaction.
10.2 Resources for Further Assistance
For additional support, visit the official Honeywell Home website for comprehensive guides, FAQs, and troubleshooting tips. Contact Honeywell’s customer support at 1-800-633-3991 or access the Resideo app for remote assistance. Certified Honeywell professionals are also available to address complex installation or operational issues, ensuring a seamless experience with your Honeywell 9000 system.