Euro Pro Sewing Machine Instruction Manual: A Comprehensive Guide

This manual provides detailed guidance for Euro Pro, Dressmaker, Elna, and various industrial sewing machine models․ It covers parts, threading, operations, and troubleshooting․
Compatible models include 495, 6102FA, 9015, 9110, V7100/D, W8100/D, WX8800D, and more․ Deep cleaning and bobbin installation are also addressed․
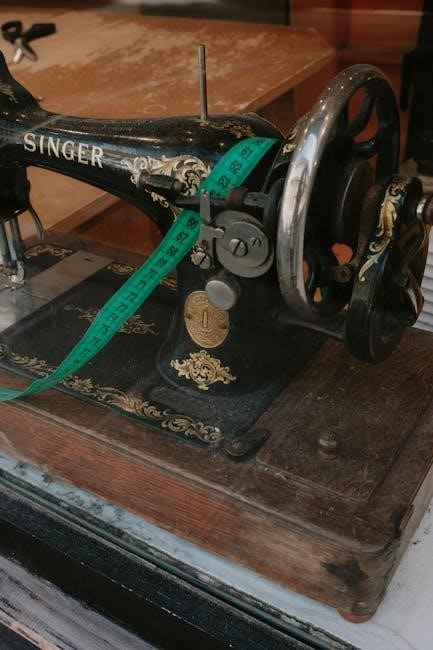
Euro Pro sewing machines represent a blend of affordability and functionality, catering to both beginner and experienced sewers․ These machines, often compatible with Dressmaker and Elna parts, offer a versatile platform for a wide range of sewing projects․ Understanding your machine’s capabilities is the first step towards successful sewing․
This instruction manual aims to demystify the operation and maintenance of your Euro Pro machine․ Whether you own a model like the 9015 or 9110, or an industrial variant such as the V7100/D, this guide provides essential information․ We’ll cover everything from initial setup and threading to troubleshooting common issues like needle breakage and thread jamming․
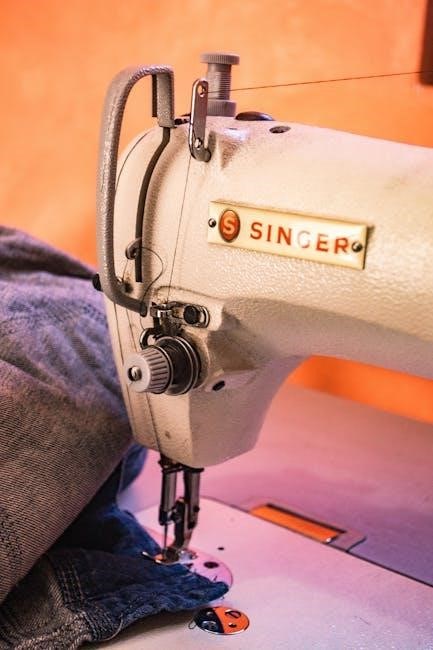
Euro Pro machines are known for their compatibility with parts from other popular brands, including Singer and Kenmore, simplifying maintenance and repair․ Regular deep cleaning, as demonstrated in helpful online resources, is crucial for optimal performance․ This manual will empower you to keep your machine running smoothly for years to come․
Understanding Compatible Models
Euro Pro sewing machines exhibit broad compatibility, often sharing parts and functionalities across various models and even brands․ This is particularly beneficial for sourcing replacements and maintaining older machines․ Key compatible series include Dressmaker (495 & 6102FA) and Elna, allowing for interchangeable components in certain instances․
Furthermore, a significant range of industrial Euro Pro models, like the V7100/D, DE, F, ML, and W8100/D, DE, F, C, benefit from shared parts lists․ Additional industrial models – WX8800D, WX8800C, WX8803DW-33L, WX8842, and MMX3303D – also fall under this umbrella of compatibility․ Recognizing these connections simplifies repairs․
Notably, certain Euro Pro components, such as spool pins, are directly compatible with Singer models (1105, 1116, etc․), while bobbin cases can often be used as replacements for Kenmore 385 and Euro Pro 9125 machines․ Understanding these relationships saves time and resources when servicing your machine․
Dressmaker Sewing Machine Compatibility (495 & 6102FA)
The Dressmaker sewing machine models 495 and 6102FA are recognized for their parts interchangeability and compatibility within the broader Euro Pro ecosystem․ This means many components, including bobbins, needles, and presser feet, can be sourced from other compatible machines, extending the lifespan and usability of these models․
Specifically, these Dressmaker machines share a common parts list with certain Euro Pro series, simplifying maintenance and repair․ When seeking replacements, referencing parts lists for both Dressmaker and compatible Euro Pro models (9015 & 9110) can broaden your search options and potentially reduce costs․
Troubleshooting common issues, like bobbin casing problems, often benefits from understanding this compatibility․ A technician familiar with Euro Pro machines will likely be able to readily service a Dressmaker 495 or 6102FA, leveraging shared knowledge and parts availability․
Euro Pro Sewing Machine Compatibility (9015 & 9110)
Euro Pro sewing machine models 9015 and 9110 demonstrate significant parts compatibility, streamlining maintenance and repair processes․ Many components are interchangeable, offering users flexibility in sourcing replacements and extending the machine’s operational life․ This compatibility extends to essential parts like bobbin cases, particularly the 627569106 model, frequently used with the Kenmore 385 series as well․
When addressing issues, referencing parts lists for both the 9015 and 9110 can maximize sourcing options․ Technicians often leverage this shared compatibility, utilizing their expertise across both models․ Understanding this connection is crucial for efficient troubleshooting and cost-effective repairs․
Furthermore, these Euro Pro models share compatibility with certain Dressmaker machines (495 & 6102FA), creating a wider network of interchangeable parts and support resources․ This interconnectedness simplifies ownership and enhances long-term usability․
Elna Sewing Machine Compatibility
Elna sewing machines, while distinct in design, often exhibit parts compatibility with Euro Pro models, particularly concerning certain internal components and accessories․ This shared compatibility stems from historical manufacturing relationships and component sourcing practices․ Identifying these overlaps is beneficial for owners seeking replacement parts or performing repairs․
While a comprehensive parts list detailing exact matches requires specific model comparisons, general components like presser feet, needles, and occasionally bobbin systems can be interchangeable․ Always verify part numbers before installation to ensure proper fit and function․ Consulting cross-reference charts and online forums dedicated to sewing machine repair can prove invaluable․
Understanding this compatibility allows for broader sourcing options, potentially reducing costs and lead times for repairs․ It also highlights the interconnectedness within the sewing machine industry and the benefits of shared component designs․
Industrial Sewing Machine Model Compatibility (V7100/D,DE,F,ML & W8100/D,DE,F,C)
Euro Pro instruction manuals often extend compatibility information to include specific industrial sewing machine models, notably the V7100/D, DE, F, ML and W8100/D, DE, F, C series․ These robust machines, frequently used in professional settings, share component similarities with consumer-grade Euro Pro machines․
This compatibility primarily concerns parts like needles, presser feet, and certain motor components․ However, significant differences exist in overall construction and functionality․ Therefore, direct interchangeability isn’t always guaranteed, and caution is advised․ Always consult detailed parts diagrams and cross-reference guides․
Owners of these industrial models can leverage Euro Pro manual resources for basic troubleshooting and maintenance procedures; Understanding these connections streamlines repairs and expands access to replacement parts, particularly for older or less common industrial machines․
Additional Industrial Models (WX8800D, WX8800C, WX8803DW-33L, WX8842, MMX3303D)
Euro Pro parts lists frequently encompass a wider range of industrial sewing machine models beyond the primary series․ This includes the WX8800D, WX8800C, WX8803DW-33L, WX8842, and MMX3303D․ These machines, while distinct, often benefit from shared componentry with other compatible brands․
The Euro Pro instruction manual’s value extends to these models by providing insights into basic maintenance, like lubrication points and common repair procedures․ Identifying compatible parts – particularly bobbins and needles – becomes easier with cross-referencing information found within these resources․
However, remember that industrial machines demand specialized knowledge․ While Euro Pro documentation can assist, complex repairs should be entrusted to qualified technicians․ Utilizing these resources alongside dedicated industrial machine manuals ensures optimal performance and longevity․
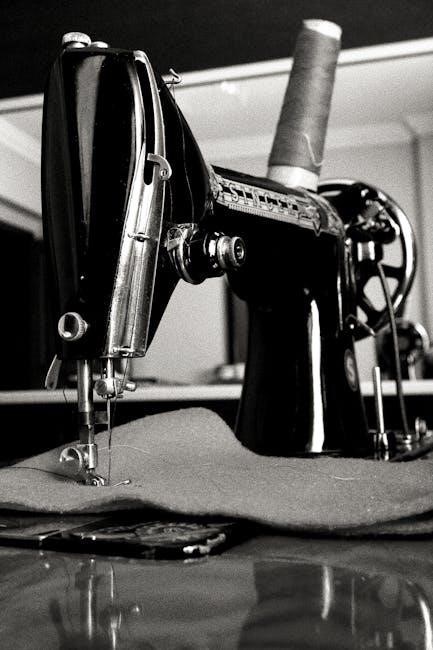
Essential Components & Parts
Key parts include the bobbin system, spool pin (compatible with Singer models), and bobbin case (replacement for Kenmore 385 & Euro Pro 9125)․
The Bobbin System: Installation and Troubleshooting
Understanding the bobbin system is crucial for smooth sewing․ Begin by ensuring you’re using the correct bobbin type for your Euro Pro machine․ Installation involves carefully placing the bobbin into the bobbin case, guiding the thread through the tension spring, and inserting the case into the machine․
Troubleshooting thread issues often starts with the bobbin․ If experiencing looping or uneven stitches, re-thread both the upper thread and bobbin, ensuring proper tension․ A common problem is incorrect bobbin insertion; verify it’s securely seated․ Deep cleaning the bobbin area removes lint and debris that can cause jams․
If the machine struggles to pick up the bobbin thread, check the bobbin case for damage or bending․ A lady recently needed assistance with bobbin casing installation, highlighting the importance of careful inspection․ Remember, a properly functioning bobbin system is fundamental to quality stitching․
Spool Pin: Compatibility with Singer Models (1105, 1116, etc․)
Euro Pro sewing machines often exhibit compatibility with certain Singer spool pins, specifically models like the 1105, 1116, 1130, 1507, and the 155th Anniversary edition․ This interchangeability can be beneficial when sourcing replacement parts or seeking upgrades․
Spool pins secure the thread spool, allowing for smooth unwinding during sewing․ If your original Euro Pro spool pin is damaged or missing, a compatible Singer pin can serve as a viable alternative․ Ensure the pin’s diameter and length are suitable for your machine to prevent thread tangling or uneven feeding․
When replacing a spool pin, gently remove the old one and insert the new one, ensuring it’s firmly seated․ This simple component plays a vital role in maintaining consistent thread tension and overall sewing performance․ Always verify compatibility before installation to avoid potential issues․
Bobbin Case: Replacement for Kenmore 385 & Euro Pro 9125
Bobbin cases are crucial for proper stitch formation in Euro Pro sewing machines, and a common replacement need arises for models like the Euro Pro 9125․ Notably, these cases often demonstrate compatibility with the Kenmore 385 series, offering a convenient sourcing option․
A malfunctioning bobbin case can lead to inconsistent stitches, thread bunching, or even complete sewing failure․ When replacing, ensure the new case is specifically designed for these models to guarantee a proper fit and function․ The part number 627569106 is frequently associated with compatible replacements․
Installation involves carefully removing the old case and inserting the new one, ensuring it clicks securely into place․ Regular inspection and timely replacement of the bobbin case contribute significantly to the longevity and smooth operation of your Euro Pro sewing machine․
Deep Cleaning and Maintenance
Regular maintenance is vital for extending the life and ensuring optimal performance of your Euro Pro sewing machine․ Deep cleaning should be performed periodically, especially when encountering issues like thread jamming or sticky operation․ Begin by disconnecting the power source․
Use a soft brush to remove lint and debris from the bobbin area, feed dogs, and surrounding components․ A lint roller can also be effective․ For stubborn buildup, a small amount of sewing machine oil can be applied to moving parts, followed by gentle brushing․ Avoid using compressed air, as it can push debris further inside․
Pay close attention to the needle plate and bobbin case․ A thorough cleaning and occasional oiling will prevent thread tangles and ensure smooth stitch formation․ Remember to consult your machine’s specific manual for detailed cleaning instructions and recommended oil types;
Threading the Euro Pro Sewing Machine
Proper threading is crucial for successful sewing․ Follow a step-by-step guide, understanding tension settings, to avoid issues and achieve consistent stitch quality․
Step-by-Step Threading Guide
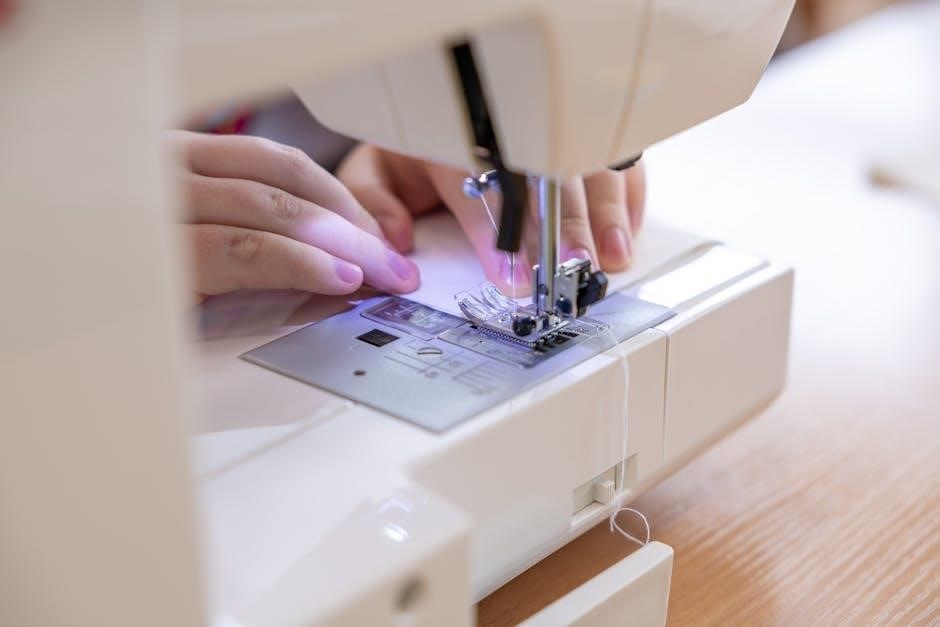
Begin by raising the presser foot; this disengages the tension discs, allowing the thread to seat correctly․ Next, place the spool of thread onto the spool pin, ensuring it rotates freely․ Guide the thread through the first thread guide, typically located on the top of the machine․
Continue threading down and around the tension discs – this is a critical step for proper stitch formation․ Then, lead the thread through the take-up lever, ensuring it’s fully inserted into the slot․ From there, guide the thread down to the needle clamp․
Thread the needle from front to back, using the needle threader if needed; Finally, raise the needle to its highest position and gently pull a few inches of thread through the needle eye․ Refer to your machine’s diagram for precise threading paths, as variations exist between models․ A helpful video demonstration can also aid in understanding this process․
Understanding Tension Settings
Proper tension is crucial for balanced stitches․ Upper tension controls the thread coming from the spool, while lower tension governs the bobbin thread․ Incorrect tension leads to looping, puckering, or thread breakage․
Start with the default settings recommended in your manual․ If the upper thread loops on the underside of the fabric, increase the upper tension․ Conversely, if the bobbin thread loops on the top, decrease the upper tension․
Test your tension on a scrap fabric similar to your project material․ Adjust in small increments, retesting after each change․ Consider thread type and fabric weight; heavier fabrics and thicker threads generally require higher tension․ A balanced tension creates even stitches with no visible loops on either side․
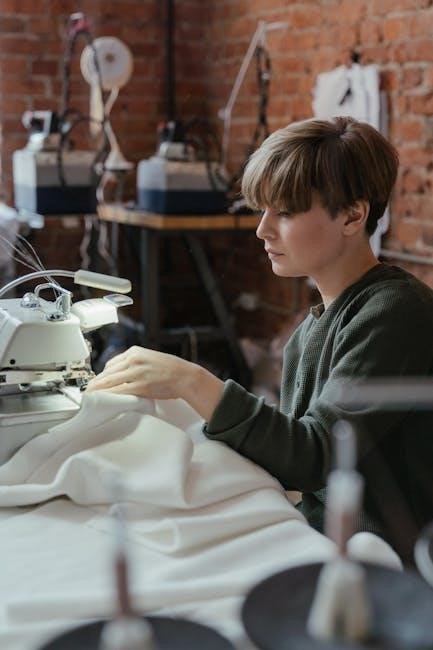
Basic Sewing Operations
Mastering fundamental techniques like straight and zigzag stitching is essential․ Adjust stitch length and width for diverse applications, ensuring quality results with your Euro Pro machine․
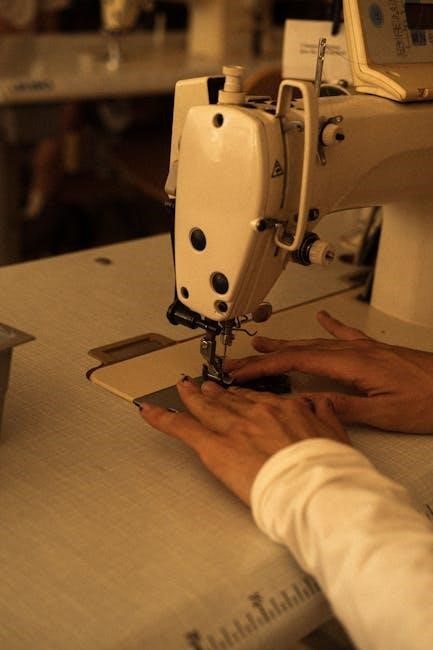
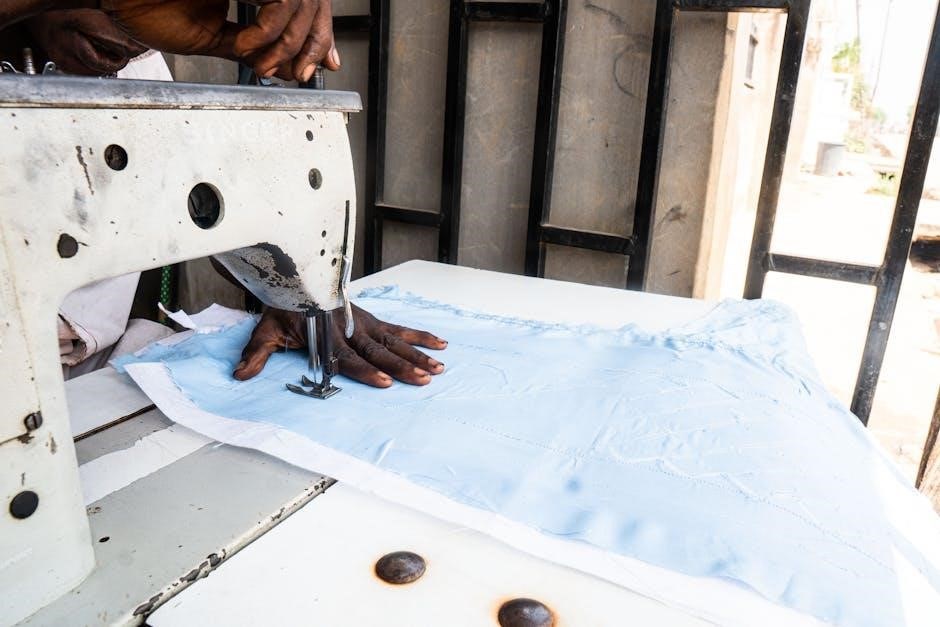
Straight Stitching Techniques
Achieving a perfect straight stitch is foundational to successful sewing with your Euro Pro machine․ Begin by ensuring your machine is correctly threaded and the bobbin is properly installed – a crucial first step․ Select a standard straight stitch setting on your machine, typically indicated by a straight line symbol․
Consistent fabric feeding relies on guiding the material smoothly and evenly․ Avoid pulling or pushing the fabric; let the machine do the work․ Maintain a consistent seam allowance using the markings on your needle plate as a guide․ Practice on scrap fabric to refine your technique before tackling your project․
Adjusting stitch length impacts the appearance and strength of the seam․ Shorter stitches are ideal for delicate fabrics or curves, while longer stitches are suitable for heavier materials or basting․ Regularly check the tension to prevent puckering or loose stitches․ A balanced tension ensures a flat, professional-looking seam․ Remember to always test your settings!
Zigzag Stitching Applications
The zigzag stitch offers versatility beyond basic seams on your Euro Pro sewing machine․ It’s ideal for finishing raw edges, preventing fabric fraying, and creating decorative effects․ Adjust the stitch width and length to achieve different looks – a narrow, short zigzag is perfect for reinforcing stress points, while a wider, longer stitch creates bolder designs․
Applying zigzag stitches to knit fabrics provides necessary stretch, preventing seams from breaking during wear․ Utilize a zigzag stitch when attaching elastic or lace, allowing for flexibility and preventing puckering․ Experiment with different thread colors and weights to enhance decorative stitching․
For appliqué work, a zigzag stitch securely fastens fabric shapes to a base layer․ Remember to test stitch settings on scrap fabric to ensure compatibility with your chosen materials․ Mastering the zigzag stitch expands your sewing capabilities and unlocks creative possibilities with your Euro Pro machine․
Adjusting Stitch Length and Width
Precise control over stitch length and width is crucial for achieving professional results with your Euro Pro sewing machine․ The stitch length dial determines the distance between each stitch; shorter lengths create denser, stronger seams, ideal for heavy fabrics or stress points․ Longer lengths are suitable for basting or lightweight materials․
The stitch width dial controls the side-to-side deviation of the needle, primarily affecting zigzag stitches․ A narrower width produces a straight stitch, while increasing the width creates broader zigzag patterns for decorative or stretch applications․ Always test settings on scrap fabric before sewing your project․
Understanding these adjustments allows you to tailor stitches to specific fabric types and desired outcomes․ Incorrect settings can lead to puckering, skipped stitches, or weakened seams․ Refer to your machine’s diagram for dial locations and recommended settings for various fabrics and techniques․
Troubleshooting Common Issues
Common problems like needle breakage, thread jamming, and machine malfunctions are addressed․ Solutions and error code explanations are provided for a smooth sewing experience․
Needle Breakage: Causes and Solutions
Needle breakage is a frequent issue, often stemming from incorrect needle selection for the fabric type․ Using a needle too small or too large can cause it to snap during operation․ Incorrect threading, particularly if the thread isn’t properly seated in the needle clamp, also contributes significantly․
Insufficient lubrication can increase friction, leading to stress on the needle․ Ensure regular machine cleaning and oiling, as detailed in the maintenance section․ Pulling or pushing the fabric instead of letting the feed dogs advance it smoothly creates excessive strain․ Always guide the fabric gently․
Bent or damaged needles should be replaced immediately․ Inspect the needle before each use for any imperfections․ Hitting a pin while sewing is a common cause; always remove pins before the needle reaches them․ Finally, ensure the needle is correctly inserted with the flat side facing the back of the machine․
Thread Jamming: Prevention and Resolution
Thread jamming frequently occurs due to improper threading, where the thread doesn’t follow the correct path through the tension discs and guides․ Re-thread the machine carefully, ensuring the thread is securely seated at each point․ Lint and debris accumulating within the machine are major culprits; regular cleaning is vital․
Incorrect tension settings can cause looping and jamming․ Experiment with tension adjustments, referring to the threading section for guidance․ Using low-quality or old thread can also contribute, as it’s more prone to breaking and tangling․ Always use fresh, quality thread․
If jamming occurs, stop immediately and gently remove the tangled thread․ Avoid pulling forcefully, which can damage the machine․ Inspect the bobbin area for any obstructions․ A properly installed bobbin is crucial; ensure it’s wound evenly and inserted correctly․
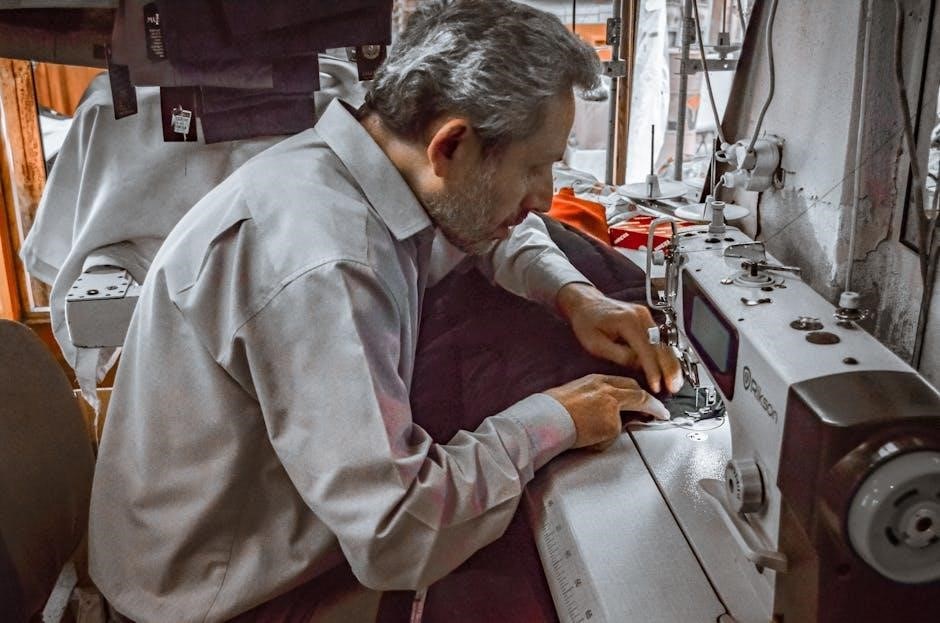
Machine Malfunctions and Error Codes
Euro Pro sewing machines, while reliable, can occasionally exhibit malfunctions․ Common issues include power failures, unresponsive foot pedals, and erratic stitching․ Always check the power cord and ensure it’s securely connected․ A faulty foot pedal may require replacement․
While specific error codes aren’t widely documented for all models, consistent issues often indicate mechanical problems․ Unusual noises, like grinding or clicking, suggest internal component wear․ Never attempt to disassemble the machine yourself; this can void the warranty and cause further damage․
If a malfunction persists, consult a qualified sewing machine technician․ They possess the expertise to diagnose and repair complex issues․ Keep a record of any observed symptoms or error patterns to aid in the diagnostic process․ Regular maintenance, as outlined in this manual, minimizes the risk of malfunctions․
Resources for Further Assistance
Beyond this manual, several resources are available for Euro Pro sewing machine support․ Online forums and communities dedicated to sewing offer valuable troubleshooting tips and shared experiences from fellow users․ Websites specializing in sewing machine repair often host FAQs and instructional videos․
Euro Pro’s official website may provide downloadable manuals, parts diagrams, and contact information for customer service․ YouTube channels featuring sewing machine tutorials can visually demonstrate solutions to common problems․ Local sewing machine dealerships frequently offer repair services and classes․
For complex issues, contacting a certified sewing machine technician is recommended․ They possess specialized knowledge and tools for accurate diagnosis and repair․ Remember to have your machine’s model number readily available when seeking assistance․ Utilizing these resources ensures continued enjoyment of your sewing machine․